How to Install a Thermal Imaging Sight
How to Install a Thermal Imaging Sight
Installing a thermal imaging sight requires careful attention to detail to ensure proper functionality and alignment. Here are the general steps to install a thermal imaging sight:
1. Gather Required Tools and Equipment
- Ensure you have all necessary tools, including:
- Screwdriver set
- Mounting hardware (usually included with the sight)
- Leveling tool
- Cleaning cloth
2. Select the Appropriate Mounting Location
- Choose a suitable mounting location on your firearm that allows for optimal viewing and comfort. The sight should be positioned so that it aligns with your line of sight when aiming.
3. Prepare the Firearm
- Ensure the firearm is unloaded and safe to work on. Remove any existing optics or sights if necessary.
4. Attach the Mounting Base
- If your thermal imaging sight requires a mounting base, securely attach it to the firearm using the provided screws and hardware. Make sure it is tightened properly to avoid any movement during use.
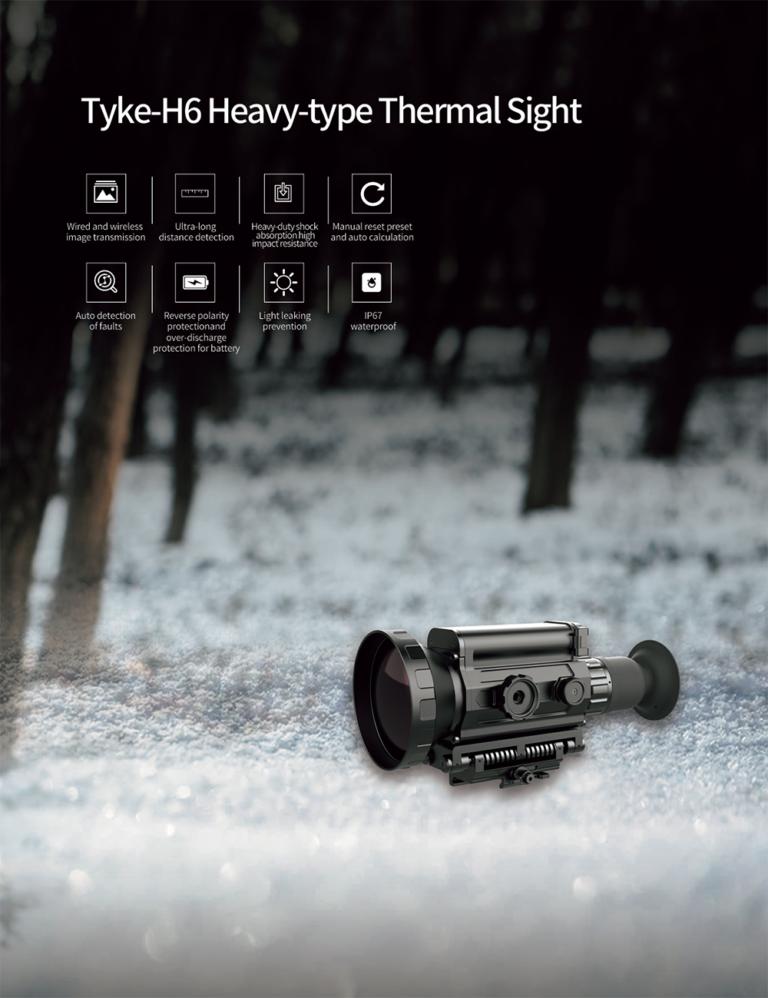
5. Install the Thermal Imaging Sight
- Carefully place the thermal imaging sight onto the mounting base. Align it according to the manufacturer’s specifications, ensuring it is level and securely positioned.
6. Secure the Sight
- Use the provided screws or locking mechanisms to secure the thermal imaging sight in place. Ensure that it is firmly attached but avoid overtightening, which could damage the equipment.
7. Adjust for Eye Relief
- Adjust the position of the sight for proper eye relief, which is crucial for comfortable viewing and accuracy. You should be able to see a full field of view without straining.
8. Calibrate the Sight
- Once installed, follow the manufacturer’s instructions to calibrate and zero the thermal imaging sight. This may involve adjusting windage and elevation settings to align with your target accurately.
9. Test Functionality
- Turn on the thermal imaging sight and test its functionality in low-light conditions. Ensure that all features are working correctly and that you can clearly see through the device.
10. Final Adjustments
- Make any final adjustments as needed for comfort and accuracy. Double-check all mounting points to ensure everything is secure before heading out for use.
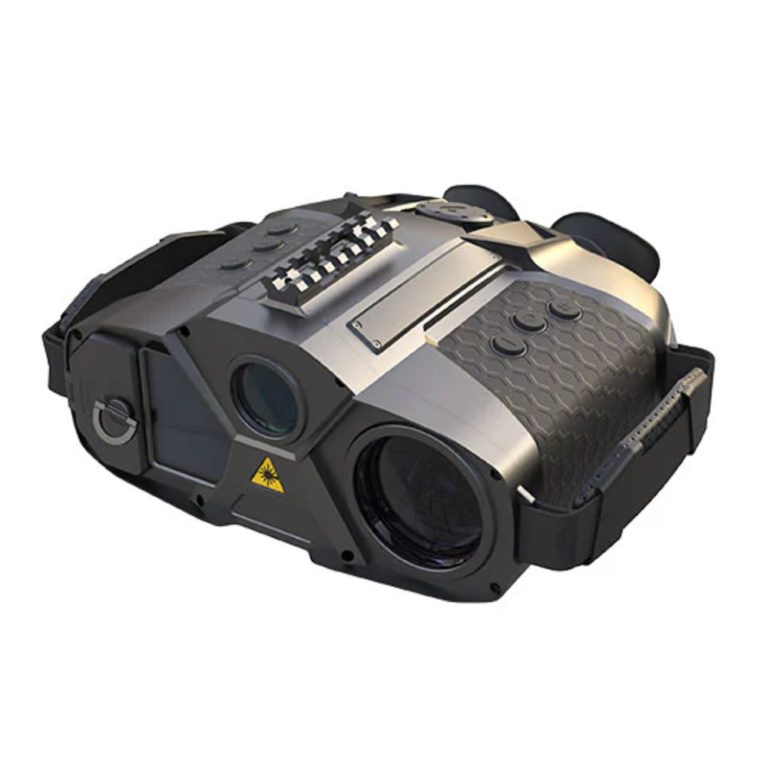
By following these steps, you can successfully install a thermal imaging sight on your firearm, enhancing your ability to detect targets in low-light or challenging conditions. Always refer to the specific installation manual provided by the manufacturer for detailed instructions tailored to your particular model.


